Mango VFX pipeline – part 1

by - 2012/06/18 29 Comments Production

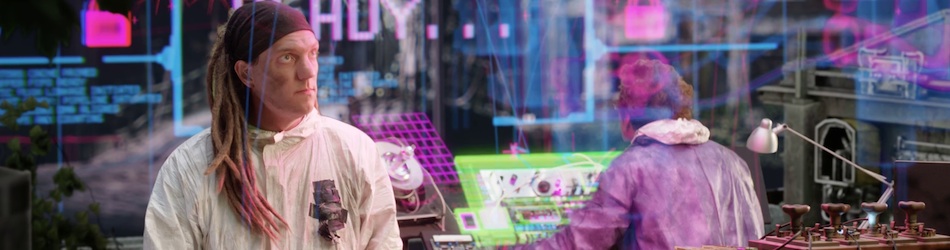
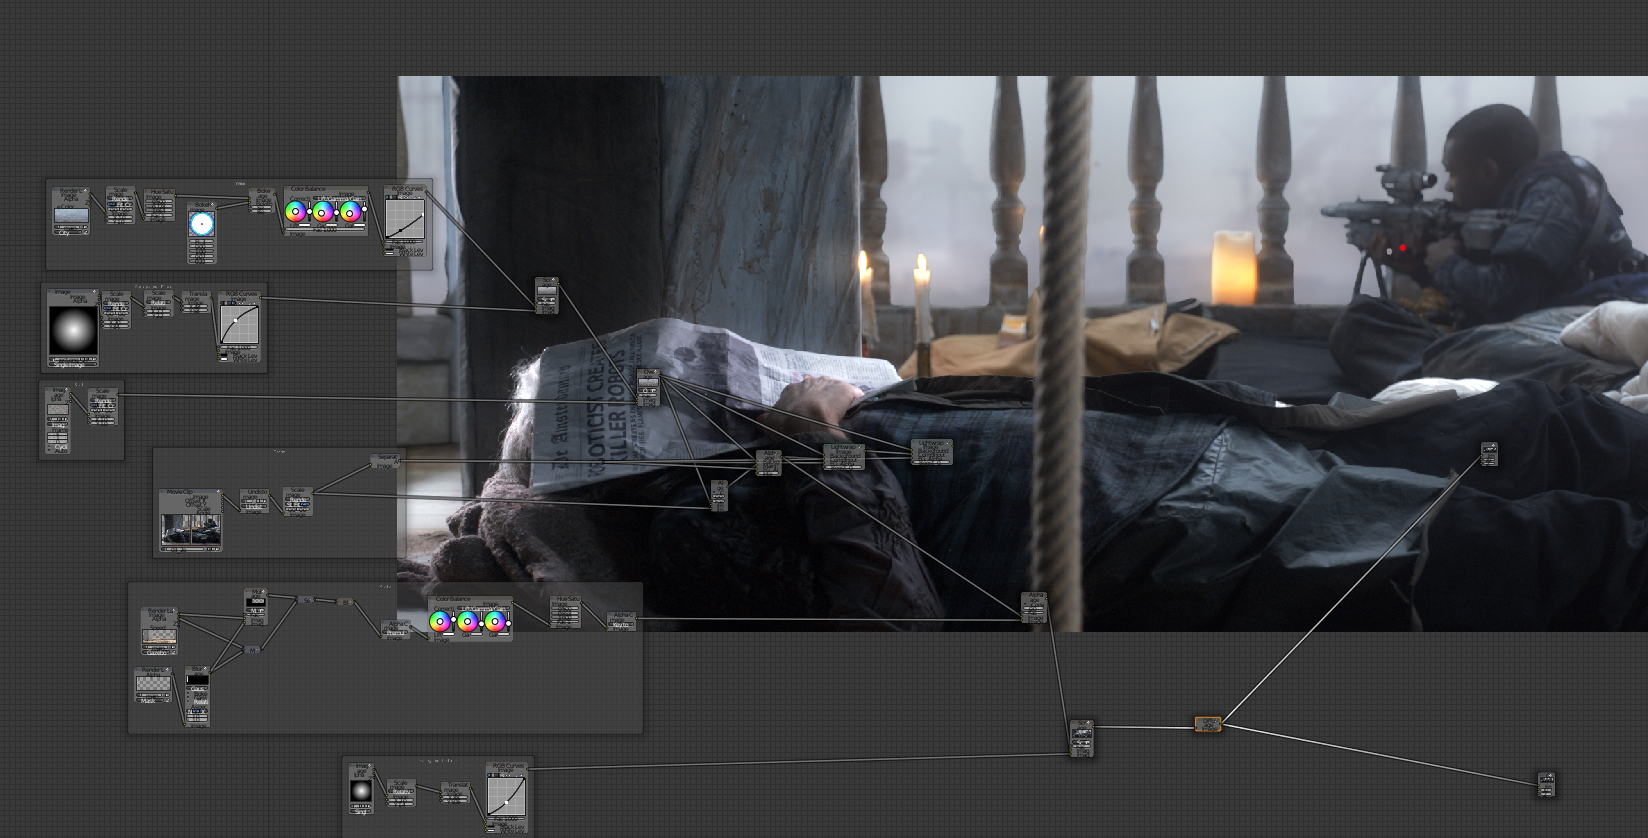
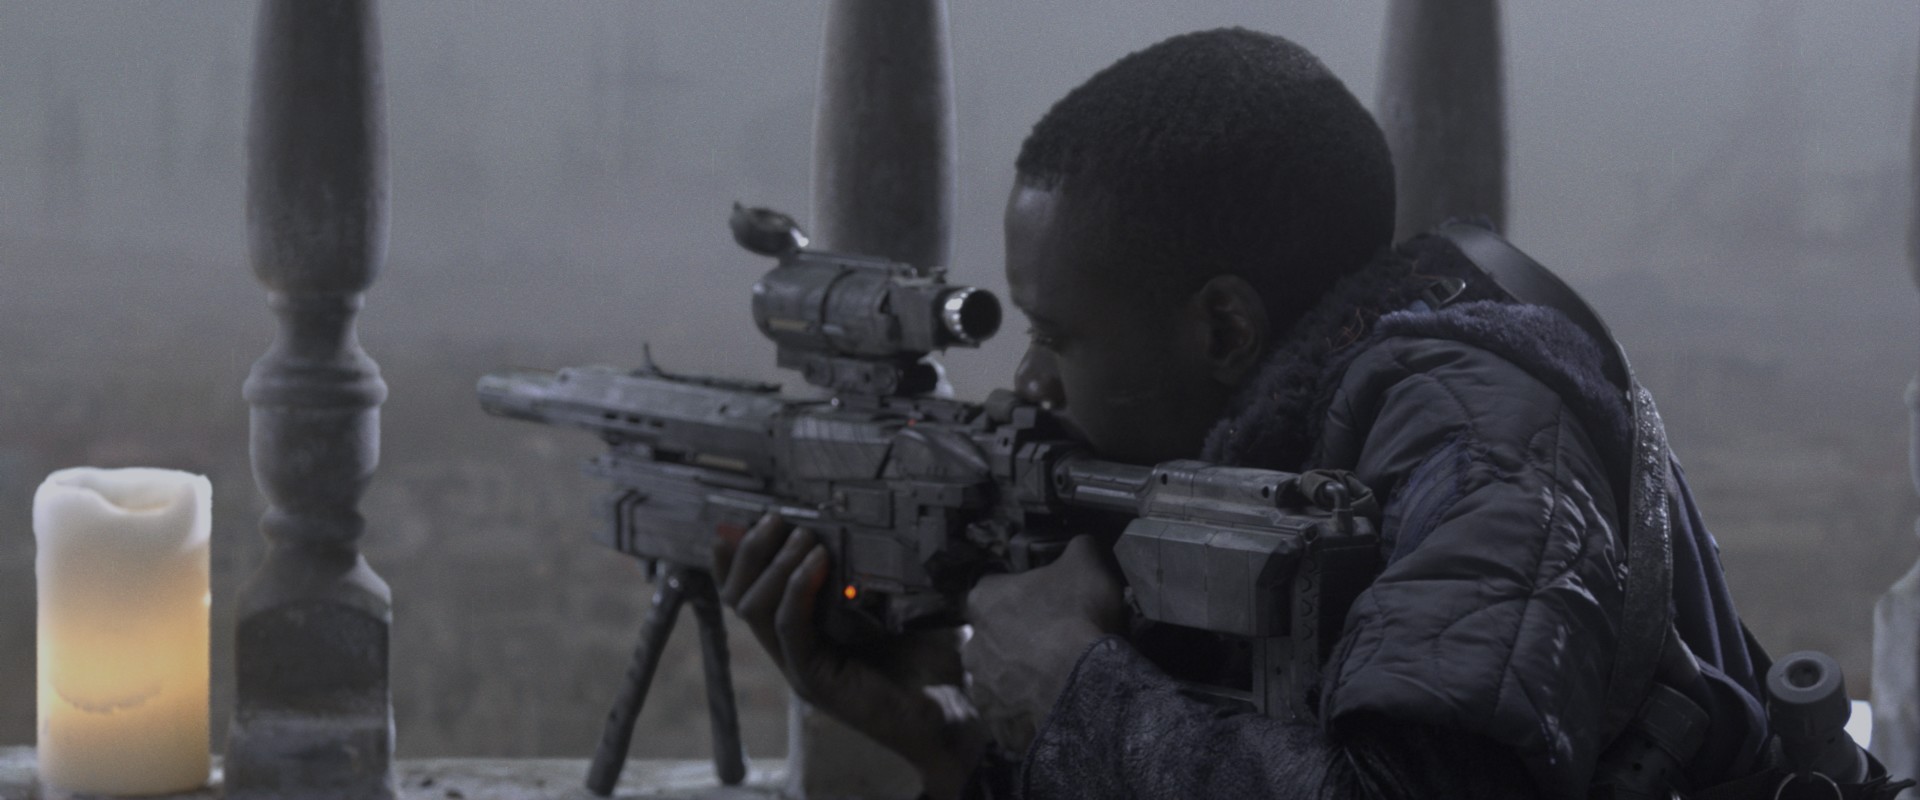
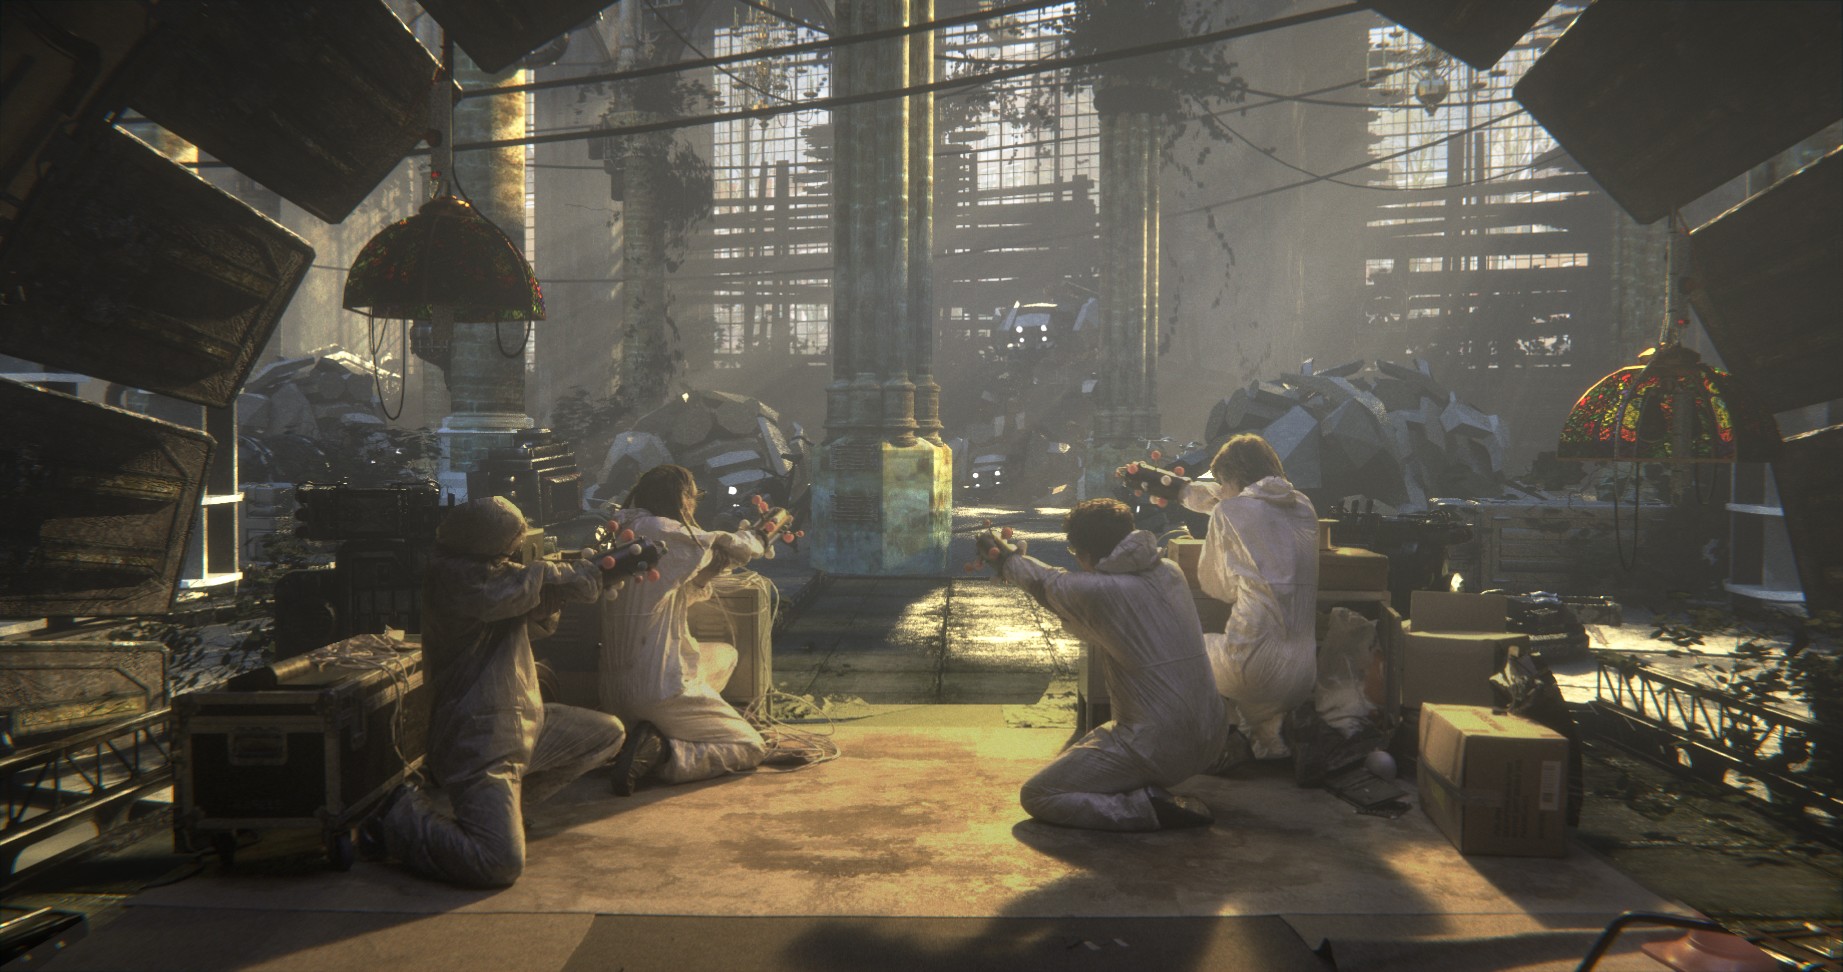
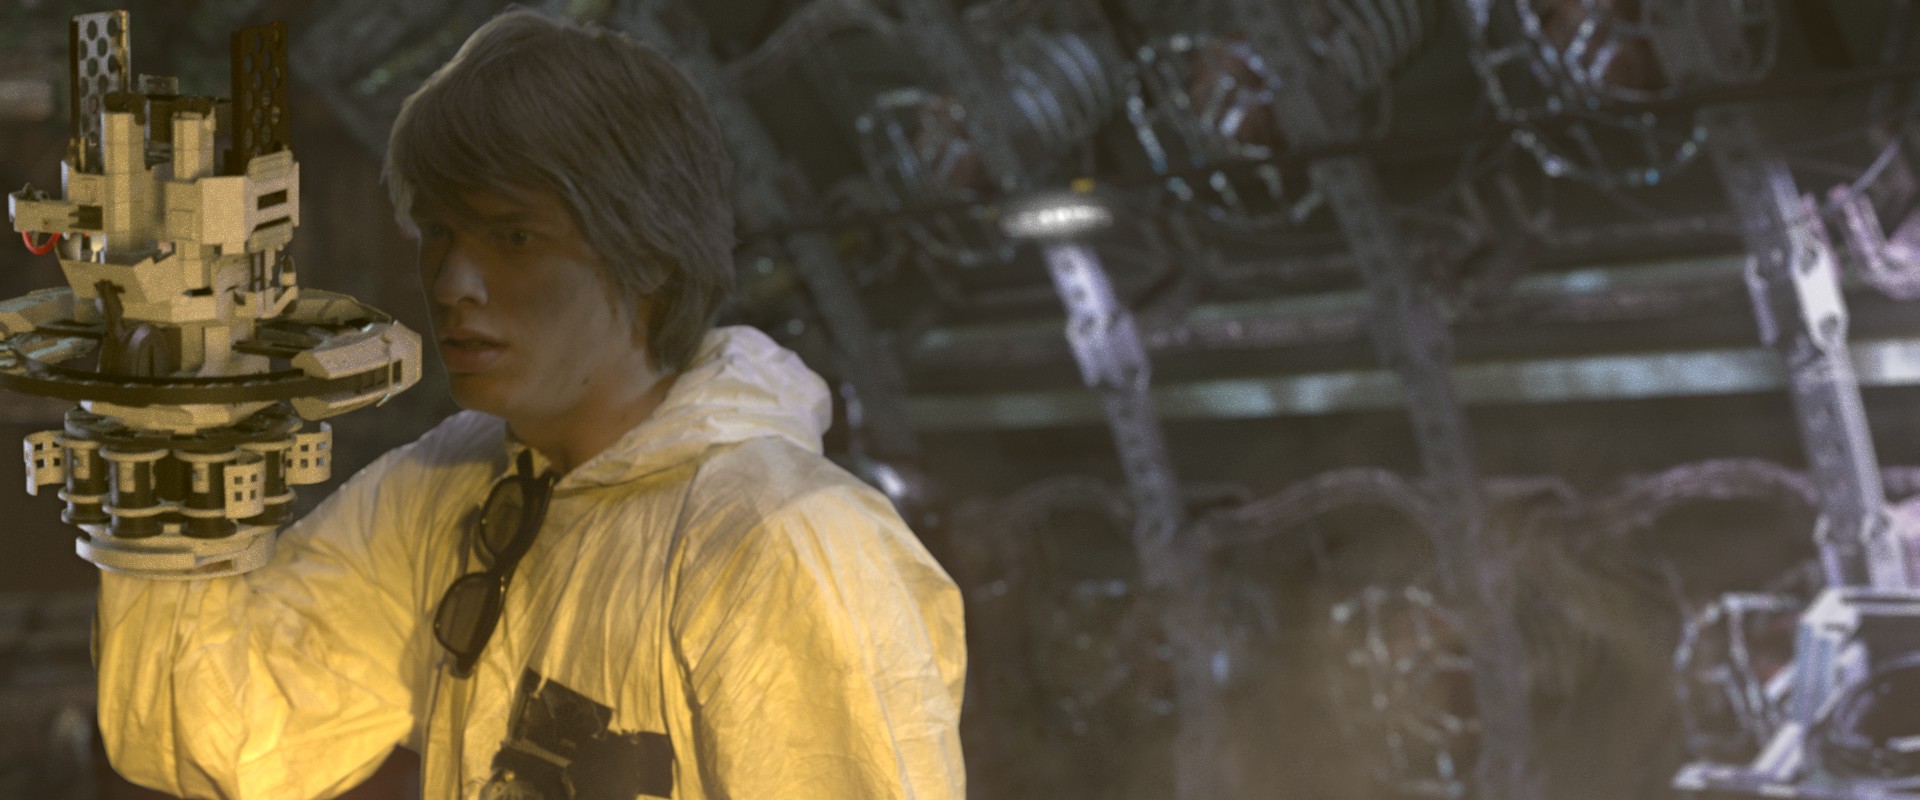
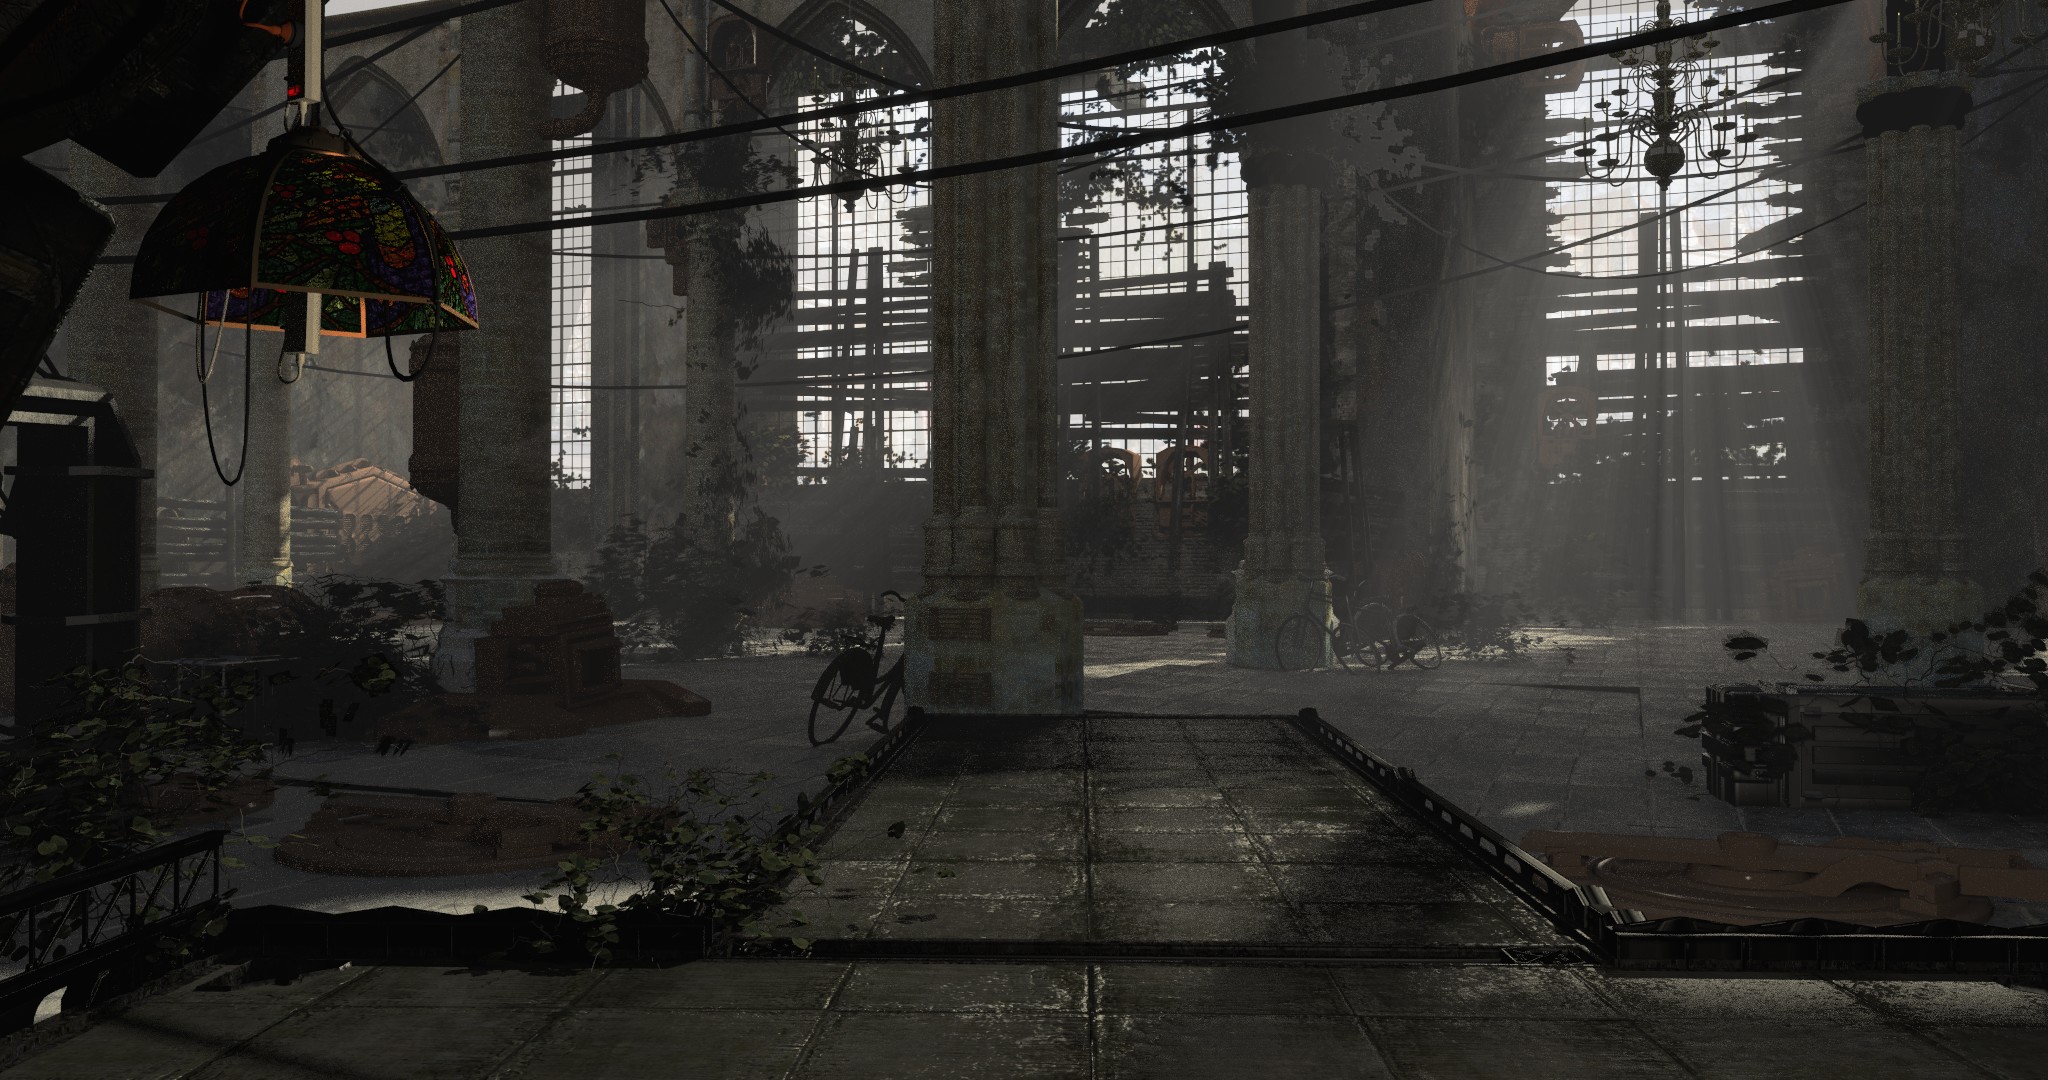
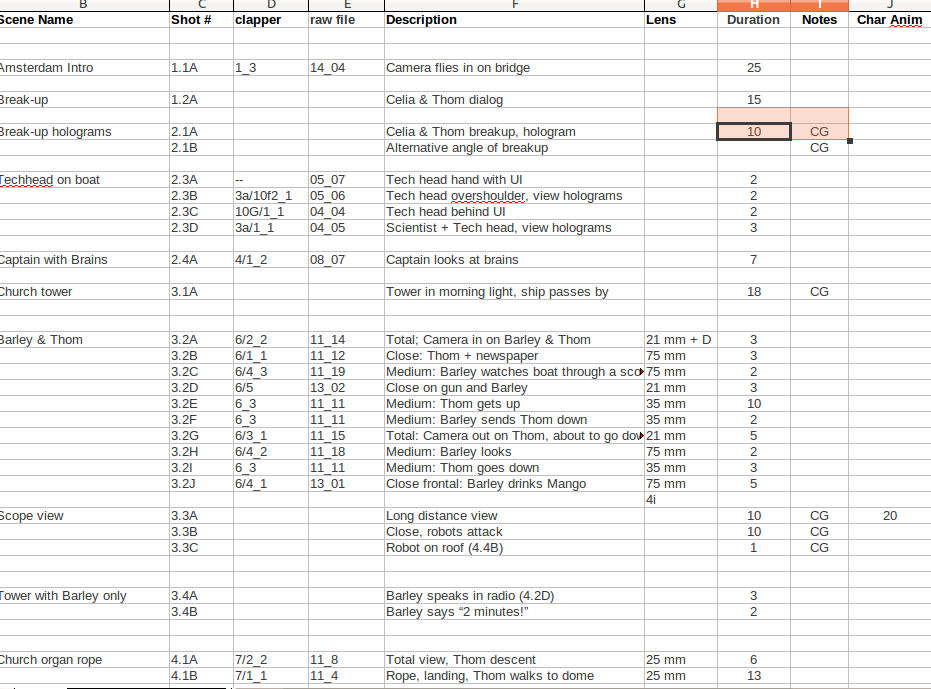
In this brief post I will illustrate an important part of our pipeline: the shot creation and development. The process described happens for every shot in the movie and appears slightly simplified (footage input and simulations are not taken into account). Here we have a picture of the process, plus a few notes about how production files are organized (on which layers objects should be placed on, and some naming conventions).


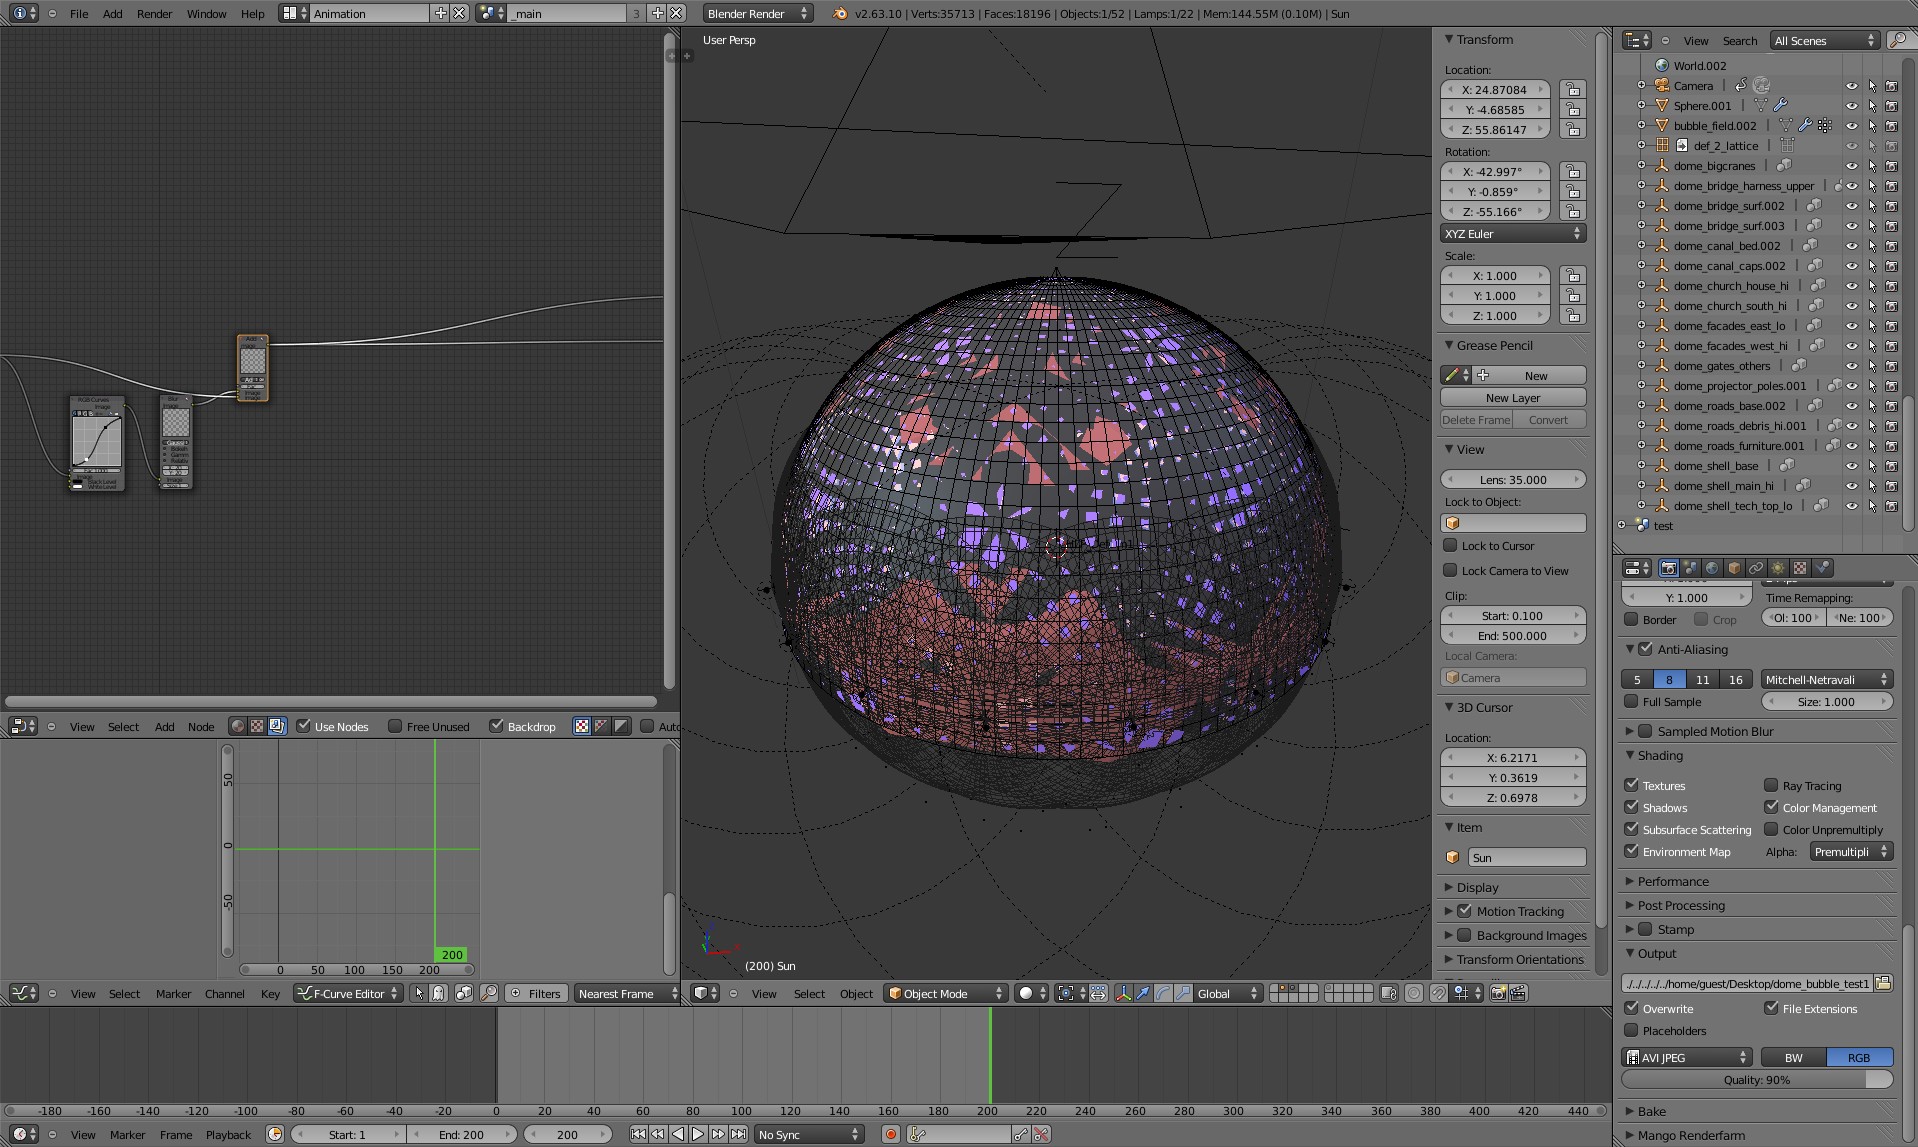
Everything starts with a blendfile where the shot is tracked and solved (the track file). This file is then duplicated and used as a starting point for keying and masking (masking file) and also for the main file, where layout, simulations, effects, light and compositing will be used. As soon as the main file is created, all the required libraries are linked in from environment and charachter files, so that the tracked camera can be placed in the right place in the scene. Once that the layout is approved it is possible to proceed with basic lighting and compositing, by creating the proper renderlayer setup. If simulation or effects like gun blasts, explosions or haze are needed, they are added to the same file, but in separate scenes. This system allows us even to use both blender internal render engine and cycles at the same time!
Given the size of our team it makes sense to keep workflow steps as compact as possible, since we can cohordinate on which shot everyone is working. A separate file for animation is created only when needed and it contains mostly liked libraries or objects, such as the camera, from the main file. At the same time, the main file links in masks and actions, so that they can be used in the compositor and on rig proxies.
This system allows a good degree of freedom and flexibility and its proving itself quite reliable.
Other posts about how we deal with footage, simulations and editing will come in the future:)

Weekly – June 15

by - 2012/06/16 30 Comments Weekly meeting

Here’s my random pick of this week’s weekly presentation. Good progress, we’re having our first shots final… but oh dear, so many details to solve yet! :)

Face Grabbin’

by - 2012/06/13 15 Comments Animation

Yesterday I spent the afternoon seeing if i could get some facegrabbing done (as seen in the screengrab from yesterday).

It involved my first try at tracking for the hand which gave me a placement for the robohand and my first try at masking with parenting mask point to tracking markers (very useful for when he talks). Then with a nice backplate and alot of scrubbing, i hand animated the hand and fingers to match the hand and fingers of our lovely actress.

I let it render overnight but it didnt bring the background with it, so i set it to go locally this morning (with v.low samples so it would be quick) to get something to show.
Looking like i’ll need to animate the back finger, but overall its looking promising**!

**I did nothing for lights and comp work (save layering), its all about the movement!

Screenshots

by - 2012/06/12 20 Comments Artwork, Production

Last week we’ve captured for everyone in the studio for a whole week every minute a screenshot! That’s going to be a great video! Needs time to process, so it’ll be published later (or as  DVD extra ;)
Just for fun, here’s the capture of today 18.00. From left to right,  top to bottom: Sebastian, Jeremy, Campbell, Ian, Andy, Roman, Francesco and Kjartan.

Blessing .blend files

by - 2012/06/12 8 Comments Random

You may be blessed

Today I will demonstrate what we do when something goes wrong or has to be fixed inside a blendfile! Recently we changed the way the armguns file works in order to make it more efficient (long story short: there used to be multiple proxies referring to multiple armatures, which were automatically generated with a script, and now the armature is the same and it is shared by the proxies).

Continue

Weekly – June 8

by - 2012/06/09 57 Comments Development, Weekly meeting

The previous blog posts already show our weekly progress well, so here’s some additions to this – like an evidence we have a full shotlist now!

This weekly I spoiled the fun a bit by ringing the alarm bells; if we want 9 minutes of film to be done in 10 weeks, we need to start delivering finals now… and not only a few shots, but more like 10-15 shots per week, 50 seconds every week! The two main bottlenecks to overcome urgently;

Continue

Scientist Shootout Allabouts.

by - 2012/06/08 22 Comments Artwork

The biggest focus this week was trying to get the shootout scene in the scientist’s tunnel completed. As with everything, it was a crazy balancing act of figuring out the right ratios of feasible render times to sample rates to noise reduction.

Just figuring out how to light realistically in cycles has been one of the biggest challenges. Cycles is incredible for smaller stuff, but once you get up into massively complex environments, it starts to slow way down, and you have to start throwing more and more cheats in there to make things really work. We know what we’re going for, but sometimes it’s a bit like learning a new language to figure out how to make the tools do what we want.

That said, we must be learning or something, because everything is looking better and better.

Continue

Old and new shiny things

by - 2012/06/07 25 Comments Artwork

Hello Mango!

border rendering in viewport

My first week was focused on getting familiar with the production pipeline and structure. I also worked on lighting the amazing dome environment. Starting out a bit slow at first, thanks to a few great additions to Cycles by Brecht things were picking up speed! Spot lights were added to Cycles: and thanks to border rendering in Camera View we can now quickly render portions of our viewport at a higher sample rate.

Further, I started working on the holographic bubble of science-ness:


Continue

Holographic Domestic

by - 2012/06/06 10 Comments Animation

At some point we’re going to be switching between the live footage and some holographic representations of the scene.

So nice and quickly, using the footage as a background, I animated our old holo blockheads to match the acting as well as needed. As the actors didn’t really move from the spot and and the camera was (mostly) static, it was nice and easy, and I didn’t need any help from the tracking software.
(this isn’t the camera angle we will be using, this was just to get the acting matched up)


And again without the backplate

A little later Andy will work his magic and make the characters look awesome and holographicy.

Who needs mo-cap :)