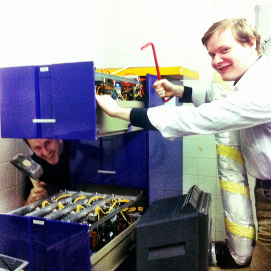
Vanja Rukavina visit

by - 2012/09/07 8 Comments Production

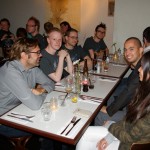
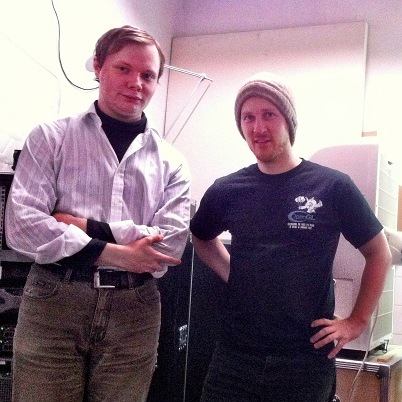
The young star playing Thom – Vanja Rukavina – was away last week on a film shoot, so he could not attend our pre-premiere event. Today he dropped by to catch up with us, and  to get amazed by the work we’ve done sofar. He totally loved it! :)

We then took time to show making-of shots. That was amazing for me too. Illustrating how to get from a final shot  to the clumsy original shots… so impressive to clearly see what an amazing job everyone’s been doing here in the past months! All of that goes online soon, promised!

-Ton-

History lesson. Today: TRACES

by - 2012/09/06 16 Comments Random

Today Ton setup an old Silicon Graphics Workstation at the Institute and installed TRACES on it, the predecessor of Blender. Totally amazing, because it already was very much similar to what later became Blender 2.49, and even in the current Blender you can see these roots.
If you want to see this live and in action come to this year’s Blender Conference!

The Premiere – Photos of Steel

by - 2012/08/29 43 Comments Production

Some more phodos from the premiere (there will probably be even more in the next couple of days).
It was such a great evening!
We really enjoyed it and had lots of fun. Seeing the movie finally on the big screen with Joram’s awesome soundtrack was just great.
Now some days of recovery and then we’ll start polishing everything so we can present it to you guys!
Cheers!!

Pre-premiere & party!

by - 2012/08/29 16 Comments Production

Hi all,

The day after – hangover day for the people with bad habits (like me). It’s been a blast! The film screening was great – last minute grading was surprisingly good, even while watching it on a regular projector (the DCP failed). We had a wonderful participative audience, laughing and cheering for us. Can’t have it better! After the film we had a load of fun with the film team, the actors, the blenderheads & fans, and of course the entire Mango crew! Oh, and I only had 1 complaint about the script sofar! We’re improving :)

I’ve had so much fun that I only took very few pictures… during dinner and at 2 AM when I left a nightclub. (Excuse me; I had to be up early to bring Roman to the airport! We’ll post more impressions of the premiere here soon.

(Image1:During dinner, Ian with his cool tee, Scott and Joram in back. Image2: Sebastian and Heike on the dance floor. Image3: Ian, Scott, Sebastian, Heike… Nicolo + gf should be hiding somewhere too. :)

-Ton-

Pigeon Rig Screen Cast

by - 2012/08/28 9 Comments Rigging

Originally rigged in 2 hours, yesterday I decided to try it again and screencast it for you all.
2nd time about 45mins (-time for script UI and boneshapes)!
I suppose it doesn’t hurt to know what you’re doing the 2nd time round :P

Model: Kjartan Tysdal
Rig: Jeremy Davidson

Developer *Fail* Moments

by - 2012/08/27 24 Comments Development, Random

Each OpenMovie project we manage to get ourselves into some fairly awkward technical difficulties – and even with the best intentions things backfire and break in strange and hard to foresee ways.

Being an open project at least we don’t have to pretend to be `professional` and can share some of the low-lights of the project as we did for Big Buck Bunny and Sintel :)


In no particular order…

  • Once NFS became mad on the server Sergey just rebooted the server. ll file systems were forced to be checked at boot time. Checking both 5TB and 3TB RAID took several hours. No internet and no production SVN meanwhile.


  • Sergey made some tweaks to file system layouts on all systems and made a typo in file system mounting rules. Next day nobody was able even to boot their computers.

  • Campbell decides to give someone else the fun of fixing broken (but awesome) 8 core XEON, we get it back from the shop `fixed` with only 2 memory slots limiting the ram making it fail at rendering the majority of our scenes.


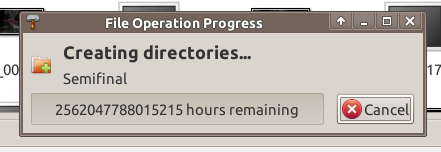
  • For some reason Samba server (server to allow mac and window users access our shared folder) was misconfigured and files with wrong permissions were creating. Trying to fix this Sergey used a mask of “.*” to change permissions for all files including hidden one. Who knew that this mask would also match “..” folder which is parent folder. Ended up with all files granted to full access to anybody on the server.


  • In the middle of the project it was discovered a typo in automated Ubuntu installation script — it created 25GB partition for data and couple of hundreds of gigabytes for swap.

  • Campbell wanted to download all versions of a file and whipped up a clever script to grab the history of all versions at once,
    …turns out that making 120 connections to blenders svn server is enough to blacklist the blender institute from connecting to our source code repository, now artists are blocked from blender updates and devs can’t apply changes to blender. Resolved the next day by changing our routers MAC address to get a new IP.


  • Sergey powers up all remote DELL renderfarm nodes and manages to overload their PDU (Power Distribution Unit) 4 days before the premier, our main renderfarm is totally broken… what now?…


  • Campbell & Koen want to copy some footage on a USB disk, but the server is configured to cache gigabytes, while Koen is illegally parked and wants to rush the files out to DELL but the disk won’t unmount, killing all processes that use the disk to force and unmount manages to kill _every_ process on the server including our render farm and studio internet connection, also in the panic some shelves got knocked over in our server room by accident with glassware breaking… We ended up copying most of the remaining files online.


  • Kjartan asks for a render hack to simplify some specific scene, the workaround only gets applied to one of our farms causing 5+ hour render times.


  • Francesco adds computers to the renderfarm without copying over the servers SSH key causing the renderfarm to lock up trying to login to a the system.


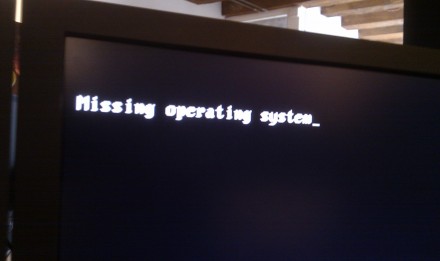
  • Our fallback system for storing footage during the shoot, mysteriously fails to boot the morning of the shoot,
    making things worse real life sysadmins on set are playing as `extras` in the first scene and have to get makeup and costumes done. – We manage without the backup system.


Things are eerily relaxed here at the studio a day before the premier, with luck we manage without too many problems this time.

– Campbell

Masking tips

by - 2012/08/27 17 Comments Compositing, Production

Hi! Today I prepared a few tips about masking, I hope they will be useful for you.

1. Analyze the sequence. Try to figure out which parts of the object are overlapping, moves in different directions (arms, legs, body of walking man; protruding elements and body of a car (eg: mirrors, antenas, lights on the roof); ears and nose when head turns). For each of those overlapped objects you should create separate mask. Obvious masks also should be overlapped, not end-to-end (only just touching).

Its a good idea is to create separate masks for parts with different kinds of motion. For example, if a man stays still and shakes his head actively, you can create separate masks for head and figure. But someone moves across the screen in a straight line and hold his head straight, you’ll need separate masks for arms and legs, and you can create single mask for head and body.

It’s important to create masks namely for objects, not for spaces between them.
For example, if a man is waving a flag held with both hands – Then the overall shape the hands, body and flagstaff would be much more consistent and easy for masking, than it would be if the whole body’s silhouette and spaces between arms and body.

Never try masking out a group of moving people with a single mask. The same thing applies for clenching fist. In this case you should use separate masks for each knuckle.
Also for complex shapes, use several masks with just one “working” side (see below)
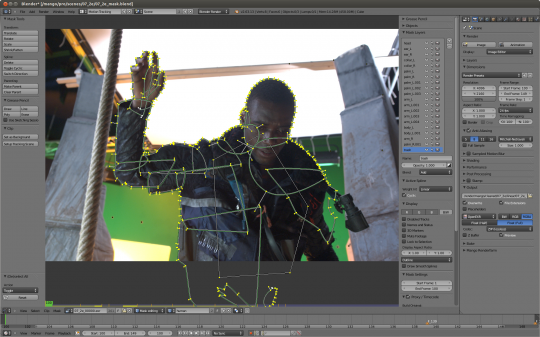
2. Always use tracking where possible. If the shape of the object changing slightly, and you have translating, rotation or zoom in the sequence, you can track the motion and attach mask vertices’s to the track. In this way you’ll get general motion and you’ll need create much less keyframes for compensate inaccuracy of tracking.

3. Find the frame where you can see whole object. Start masking from this frame. Try to use as few mask points as possible for the objects outline. Otherwise it could be hard to animate.
Next, to avoid jittering and sudden movements of mask, animate the mask in several passes. Firstly create basic keyframes and then add keyframes where its necessary.

4. First pass. Find the key moments – beginning of objects moving, stopping, changing speed. Create certain amount of keyframes accordingly.

While animating a mask its easy to forget the origins of the mask points – so for eg: what starts as the point of an elbow may end on the wrist by the end of the animation. – This should be avoided because the areas in-between the keyframes tend to look bad and you end up adding more keyframes to compensate for it.

5. Second pass. Check how mask interpolates between keyframes and how it follows the movement of object. Add keyframes where the mask has the most significant offset from the object. Repeat this 3 or four times.

Once you have the bare minimum number of keyframes needed, the masks animation will look smooth so you’ll be able to adjust mask’s shape with less effort.

Now you can enable motion blur on the mask node, adjusting individually for each shot. In Blender I usually use Shutter = 0.25-0.35.

One more time – less points, less keyframes as you can!

Big thanks to Alexey Shavrov and Campbell Barton for help with this post.