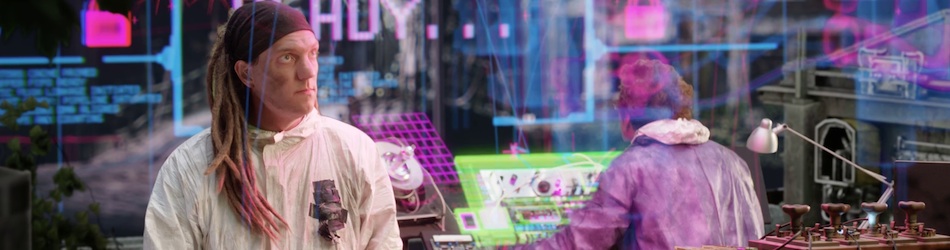
Here’s a great story of the fun and success of the Open Movie’s Creative Commons Licences and the creative freedom that they allow. Because now there is also a chinese Version of Tears of Steel! They had their own actors, reshot the entire movie and combined it with the CG assets of Tears of Steel. It’s so cool to see them reenact all these scenes from our movie. And their Techhead is at least as crazy as ours! :)
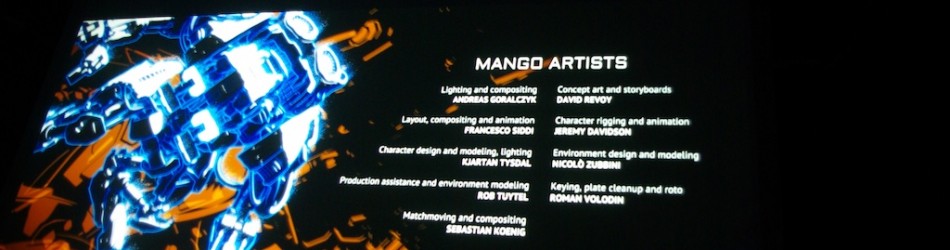
Apparently it was a project from the Chinese Academy of Sciences Institute of Automation (http://english.ia.cas.cn) with the goal to build a team and explore the pipeline and workflow for future commercial projects. Further down Ethan Luo from the chinese Blender community shares some infos about this remarkable remake. Check it out!
Here’s a splitscreen version that reveals a bit more how they created this epic version of Tears of Steel!
It’s always great to see people using the open movie assets in their own projects, but seeing the love and detail that went into this one is simply awesome. Having worked on the original Tears of Steel myself I know what a pain greenscreen keying, rotoscoping and sometimes object tracking can be, but these guys did a great job, especially since they didn’t have access to a high end Sony F65 camera that produces supercrisp footage nor a luxurious giant well-lit greenscreen studio, so they probably had to deal with a lot more problems with keying and tracking.
So hats off to the creators of this “Tears of Steal”! I think it’s a great encouragement for everyone to actually use the open movie assets, use them for your own creations and learn from them!
:)
Here’s what Ethan writes: